Category Archives: Cheese Making

Half-homemade cheese press

“Hard” cheeses such as chedder require a press to expel the moisture – just the right amount of moisture. Too much pressure, and you end up with a concrete block (yes, we have.) Too little pressure, and retained moisture nourishes unwanted bacteria and molds (yes, it smelled like the devil’s armpit.)

The cheese press we’ve been using is based on a spring. You turn a handle to put pressure on the apparatus, and when the spring is fully compressed, that’s 50 pounds. For 10, 20, etc pound presses, you guesstimate how far the spring is between fully expanded and fully compressed. It wasn’t working for us.

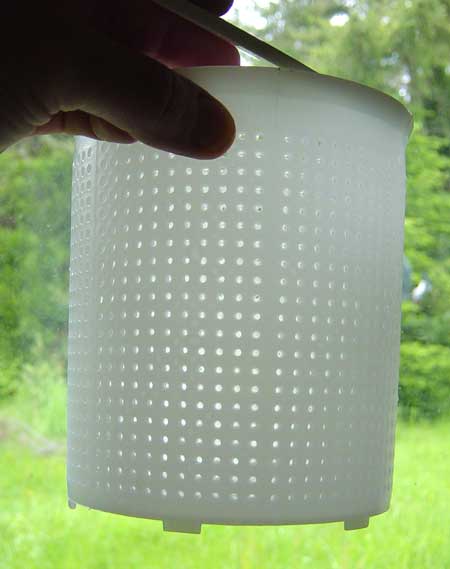
We happened upon this small basket with a disk that fits inside it at our favorite homebrew supply in Eugene:
cheesepress

That is MUCH better than the solid, slightly off-round PVC pipe that the spring press works with! Displayed with it was $200-something worth of fine craftsmanship and clever engineering in the form of a rather complicated lever device. It looks great, but we’ll stick with the $6.95 basket and see what we’ve got.

In preparation for such a find, I had already thrift-stored a set of barbell weights in 5 and 10 pound increments…but they are too big to just set on top of the follower disk on top of the cheese.

The solution? An empty tobacco can, a stick that was lying around in the yard, and some concrete:
follower

The tobacco can fits neatly on top of the pressing disk, and the weights fit over the post on top. It weighs 4 pounds and will probably get a pound added somehow as cheese instructions tend to be in 5 pound increments.

We’ll let you know how it works!

Snapshots from a typical Fall day on the farm

Cheesemaking is kicking into high gear?we’re freezing a lot of chevre to enjoy later when the milking slows down, and here’s the beginning of a farmhouse cheddar:

I screwed up the last batch of beer and foolishly didn’t brew for a while.  Our homemade beer (when it works, which it usually does) is much tastier than what we buy at the store, and ends up costing about half as much. 

Here’s five gallons of soon-to-be-porter bubbling away:

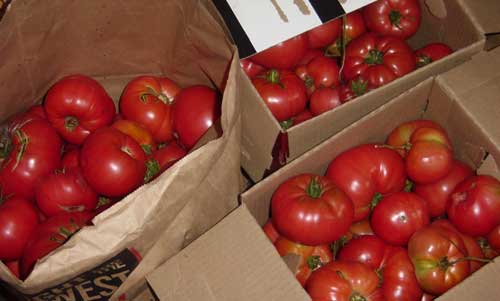
Last year, we got a freeze in early September that took out all the tomato plants, and Teri made a lot of green tomato ketchup.  This year, none of the main (Brandywine) tomato crop had turned red by that point, and my dreams of pasta sauce seemed to by dying?but the past month has been mostly sunny and warm, and we’re bringing in five-gallon buckets every few days. 

Though we aren’t entirely dependent on our homegrown food, it’s probably saving us a couple of thousand dollars a year now, so I have a little more appreciation for how much people doing this in the past were subject to the whims of the weather?and for what a joy it is when one’s hard work is rewarded with abundance:

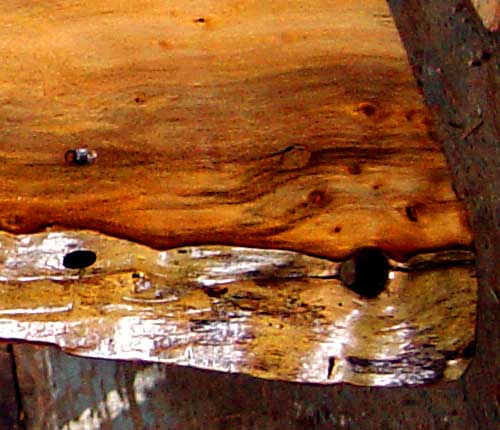
In a break from my usual “functionality IS the aesthetic” carpentry ethic, I’ve made a tea table to go alongside my desk (I hate having beverages and food on the same surface as my computer).  The top was from a rough-cut slab of some unknown hardwood that I got a bunch of for free because of “imperfections”, and the base is something that was left behind when the electric co-op trimmed around the power lines. 

It’s beautiful wood?but I didn’t know that when I got it, so most of it is incorporated into the chicken coop.  Now that I’ve seen it sanded and sealed, I think I’ll be pulling the rest of it off the coop to make things from (don’t worry chickens, I have plain old fir boards to replace it).  Anyway, here’s the table, which I’m quite pleased with:

Closeup of the wood:

Worky work work!  In addition to all this, there are of course the daily chores such as caring for livestock, cooking, keeping the fire going, earning a living, etc?but some other farm residents have more sensible priorities; I leave you with “Snail Love”:


Cheese, Gromit! And something stanky…

As is usual this time of year, posts have been sparse right when there’s the most cool stuff to blog about – 36 hour days would be just about right for August and September.

We do have one milestone to report – with a borrowed cheese press and a copy of the excellent Home Cheese Making by Ricki Carroll, we have created our first hard cheese, a farmhouse cheddar that should be edible in just a month or two.

But who can wait a month or two? The cheese has been sitting out for a week to form a rind (really should have been a few days), and today we waxed it for storage, but one end was uneven enough that we worried about the wax being able to form a good seal…so we cut it off and ate it, and after only a week it’s already….CHEESE!

Here’s the cheese before waxing:
farmhouse-cheddar

Here’s beeswax in a can, on top of some canning lids in a small cooking pot to make a double boiler. The brush is a “chip” brush – they cost almost nothing at a hardware store, and their natural hair bristles won’t melt in the wax.
cheese-waxing-can

…and here’s the finished product, an inexpertly made and waxed yet already tasty cheese from our good little mini-Oberhasli goats:
waxed-cheddar

What? The cheese wasn’t the stinky part? No, it smelled quite nice. My tobacco, on the other hand…it’s coming out barely tolerable when dried over the course of a few weeks…probably intolerable to any non-smokers in the area. To make it really smooth requires a year or more of careful aging, actually a fermentation process.

Here it is in various stages of the first slow drying (greenish ones are just picked, some in the upper left have been drying for 2-3 weeks already)
tobacco-drying

Cheese that isn’t quite cheese

I found a recipe online for making gjetost, a sweet, salty brown cheese I enjoyed in Sweden (and occasionally from a specialty shop here). It’s not a moldy type cheese, it’s boiled-down goat whey (the watery stuff left after you use goat milk to make a hard cheese).

Luckily, since our goats won’t be giving us milk until next Spring, I found a neighbor willing to part with a few gallons of whey, which would otherwise have been fed to her dogs. After boiling all day long, the two gallons of whey was a brown paste about 1″ deep in a 12″ pot. I whipped it smooth with a little hand blender and refrigerated. And it worked!

This is a love it or hate it cheese; carmelized lactose with lots of salt, about the consistency of peanut butter. My first batch turned out a little grainy, so I gave the second one more whipping with the blender, which seemed to help a bit. I was too busy to document the process, but here’s the recipe I followed, with some photos below.

How to Make Gjetost

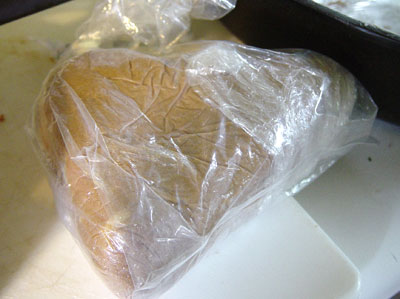
Wrapped up for freezing:
gjetost_wrapped

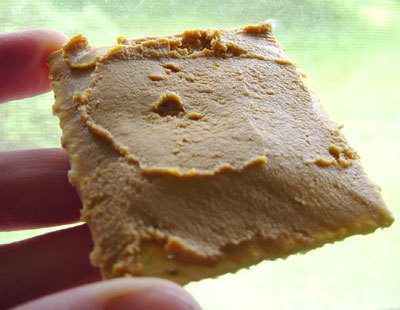
Spread on a cracker*:
gjetost_on_cracker

* The first batch was a little soft, so technically was mytost (same thing, but spreadable)